by David Mar 25,2026
Absolutely! Here's a polished and expanded version of your guide to Cooking and Eating Meals in Monster Hunter Wilds — perfect for players looking to master their pre-hunt preparation:
Fuel Your Hunt the Right Way
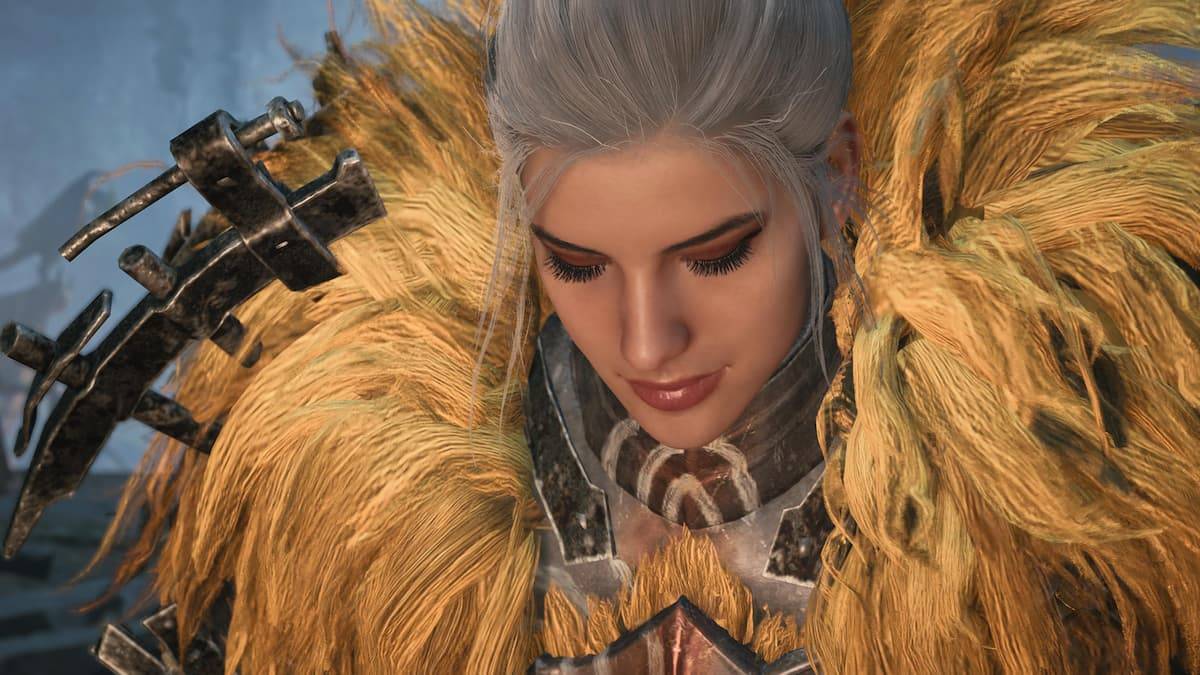
In Monster Hunter Wilds, survival isn't just about strength — it’s about smart preparation. Unlike previous entries where Palico companions handled meals, you now take full control of your sustenance. Whether you're braving the wilds of the New World or facing a ferocious Elder Dragon, a well-crafted meal can mean the difference between victory and a swift (and messy) defeat.
There are two main ways to cook in Monster Hunter Wilds:
🔥 Pro Tip: The BBQ Grill is your best friend during long expeditions. Use it to cook on the spot, then pack it up when you’re done.
There are three meal types to choose from in the cooking menu:
Recommended Meal
Custom Meal
🔧 Ration Types:
🌱 Ingredients (e.g., Mushroom, Spicy Root, Bitterleaf):
✨ Finishing Touches (e.g., Golden Sauce, Starlight Herb):
Favorite Meal
In Monster Hunter Wilds, cooking isn’t just a side mechanic — it’s core to your survival. The right meal can keep you on your feet longer, let you dodge better, and help you gather faster. Master the BBQ, know your ingredients, and always eat before you go.
🎮 Pro Move: Keep a Portable BBQ Grill in your inventory at all times — use it between quests to stay prepped.
For more tips on gear, monster strategies, and crafting in Monster Hunter Wilds, keep checking The Escapist and stay ready for your next big hunt.
Stay hungry. Stay strong. And never go into battle on an empty stomach. 🍲⚔️
Let me know if you'd like a printable PDF version, a meal-building cheat sheet, or a list of must-have ingredients and where to find them!
Zenless Zone Zero-Update-Zyklus-Leck gibt Hinweise auf zukünftige Inhaltsrhythmen
Marvel Rivals: Staffel 1 Dracula erklärt
Falschgeld-Banksimulator: Prägelösung für Wirtschaftskrisen
Alle Mavuika-Materialien, -Kits und -Konstellationen in Genshin Impact
Albion Online startet das Paths to Glory-Update mit neuen Inhalten, erhöhten Spawn-Raten und mehr
Roblox: Anime Auras RNG -Codes (Januar 2025)
Beste Xbox Game Pass Spiele für Kinder (Januar 2025)
Power Rangers: Entdecken Sie verborgene Geheimnisse auf Ritas Karneval und Friedhof

Bitcoin Slots and Casino games
Herunterladen
Black Jack for Winners: Card Game
Herunterladen
Dice App
Herunterladen
Ghoul Slot SE
Herunterladen
Flugpilot-Simulator 3D
Herunterladen
Phobies: PVP Monster Battle
Herunterladen
What Could Go Wrong
Herunterladen
Hail To The King
Herunterladen
Free Klondike Solitaire Game
Herunterladen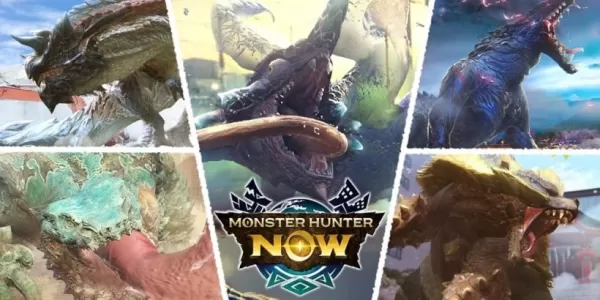
Das Saison-5-Finale von Monster Hunter Now beginnt
Jun 06,2026
„Ich vermisse Heath zu sehr“: Marvel-Star Paul Bettany trauert immer noch um die Joker-Legende Heath Ledger und kann „A Knight’s Tale“ nicht ansehen
Jun 06,2026

Exaltierter Fisch: Der ultimative Entfernungsratgeber
Jun 04,2026
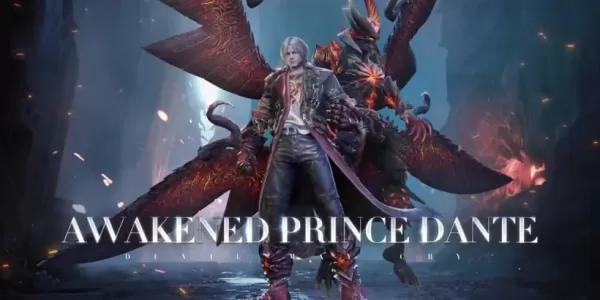
Devil May Cry: Erweckter Dante startet im Kampfrausch
Jun 03,2026
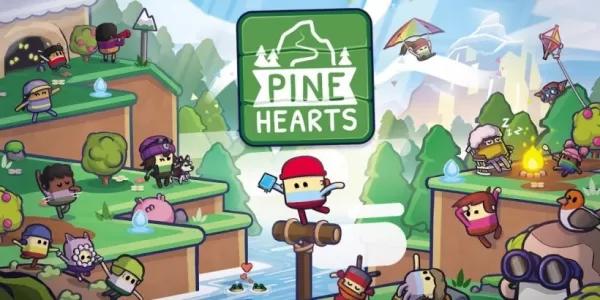
Pine Hearts – Gemütliches Puzzlespiel nun verfügbar für Android und iOS
Jun 02,2026
 Kategorie